Use Workbench on Replit
An easy way to quickly onboard and learn about Root without the need for a local setup.
To get started quickly without the need for a local setup, you can use Workbench on Replit.
This guide explains how to set up and use Workbench on Replit.
Replit platform informationReplit is independent of the Root platform and is not included in any Root subscription.
Step 1: Fork Root Workbench Sandbox Replit
To start working with Workbench on Replit, you need to fork the Root Workbench Sandbox Repl.
- Access the Root Workbench Sandbox Replit via the following link: this guide https://replit.com/@LouwHopley/Root-Workbench-Sandbox
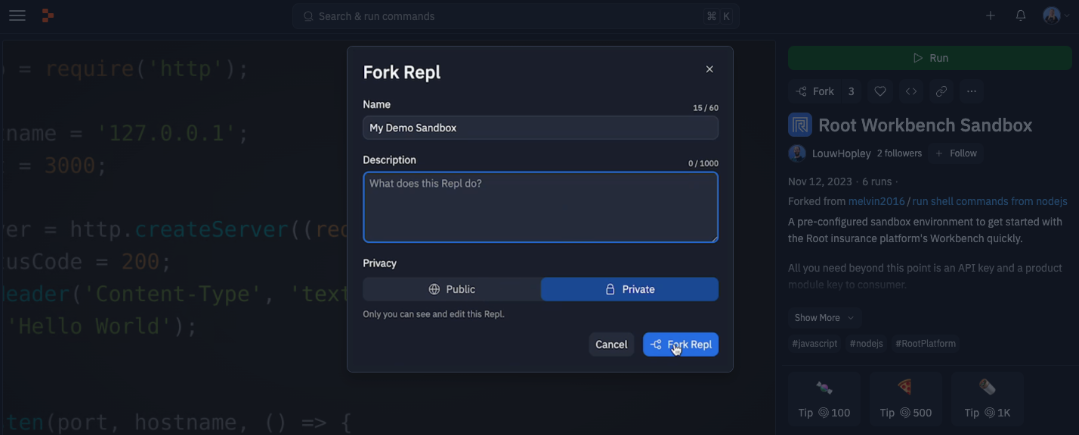
- Select “Fork Repl” in the top right corner of the screen.
- Give your new Repl a name, a description, select a privacy option and confirm.
Protecting your IP on ReplitThe free Replit subscription only allows for public Repls, meaning that anyone can view and fork your Repl. For production development, we recommend setting up a local environment on your own machine off Replit, or upgrade to make your Replit Core.
Step 2: Activate the Root Workbench extension
Once you’ve set up your Workbench sandbox on Replit, the next step is to enable the Workbench extension. The Workbench extension allows you to easily clone product modules from the Root platform to Replit. It also allows you to push your changes to Root through the click of a button.
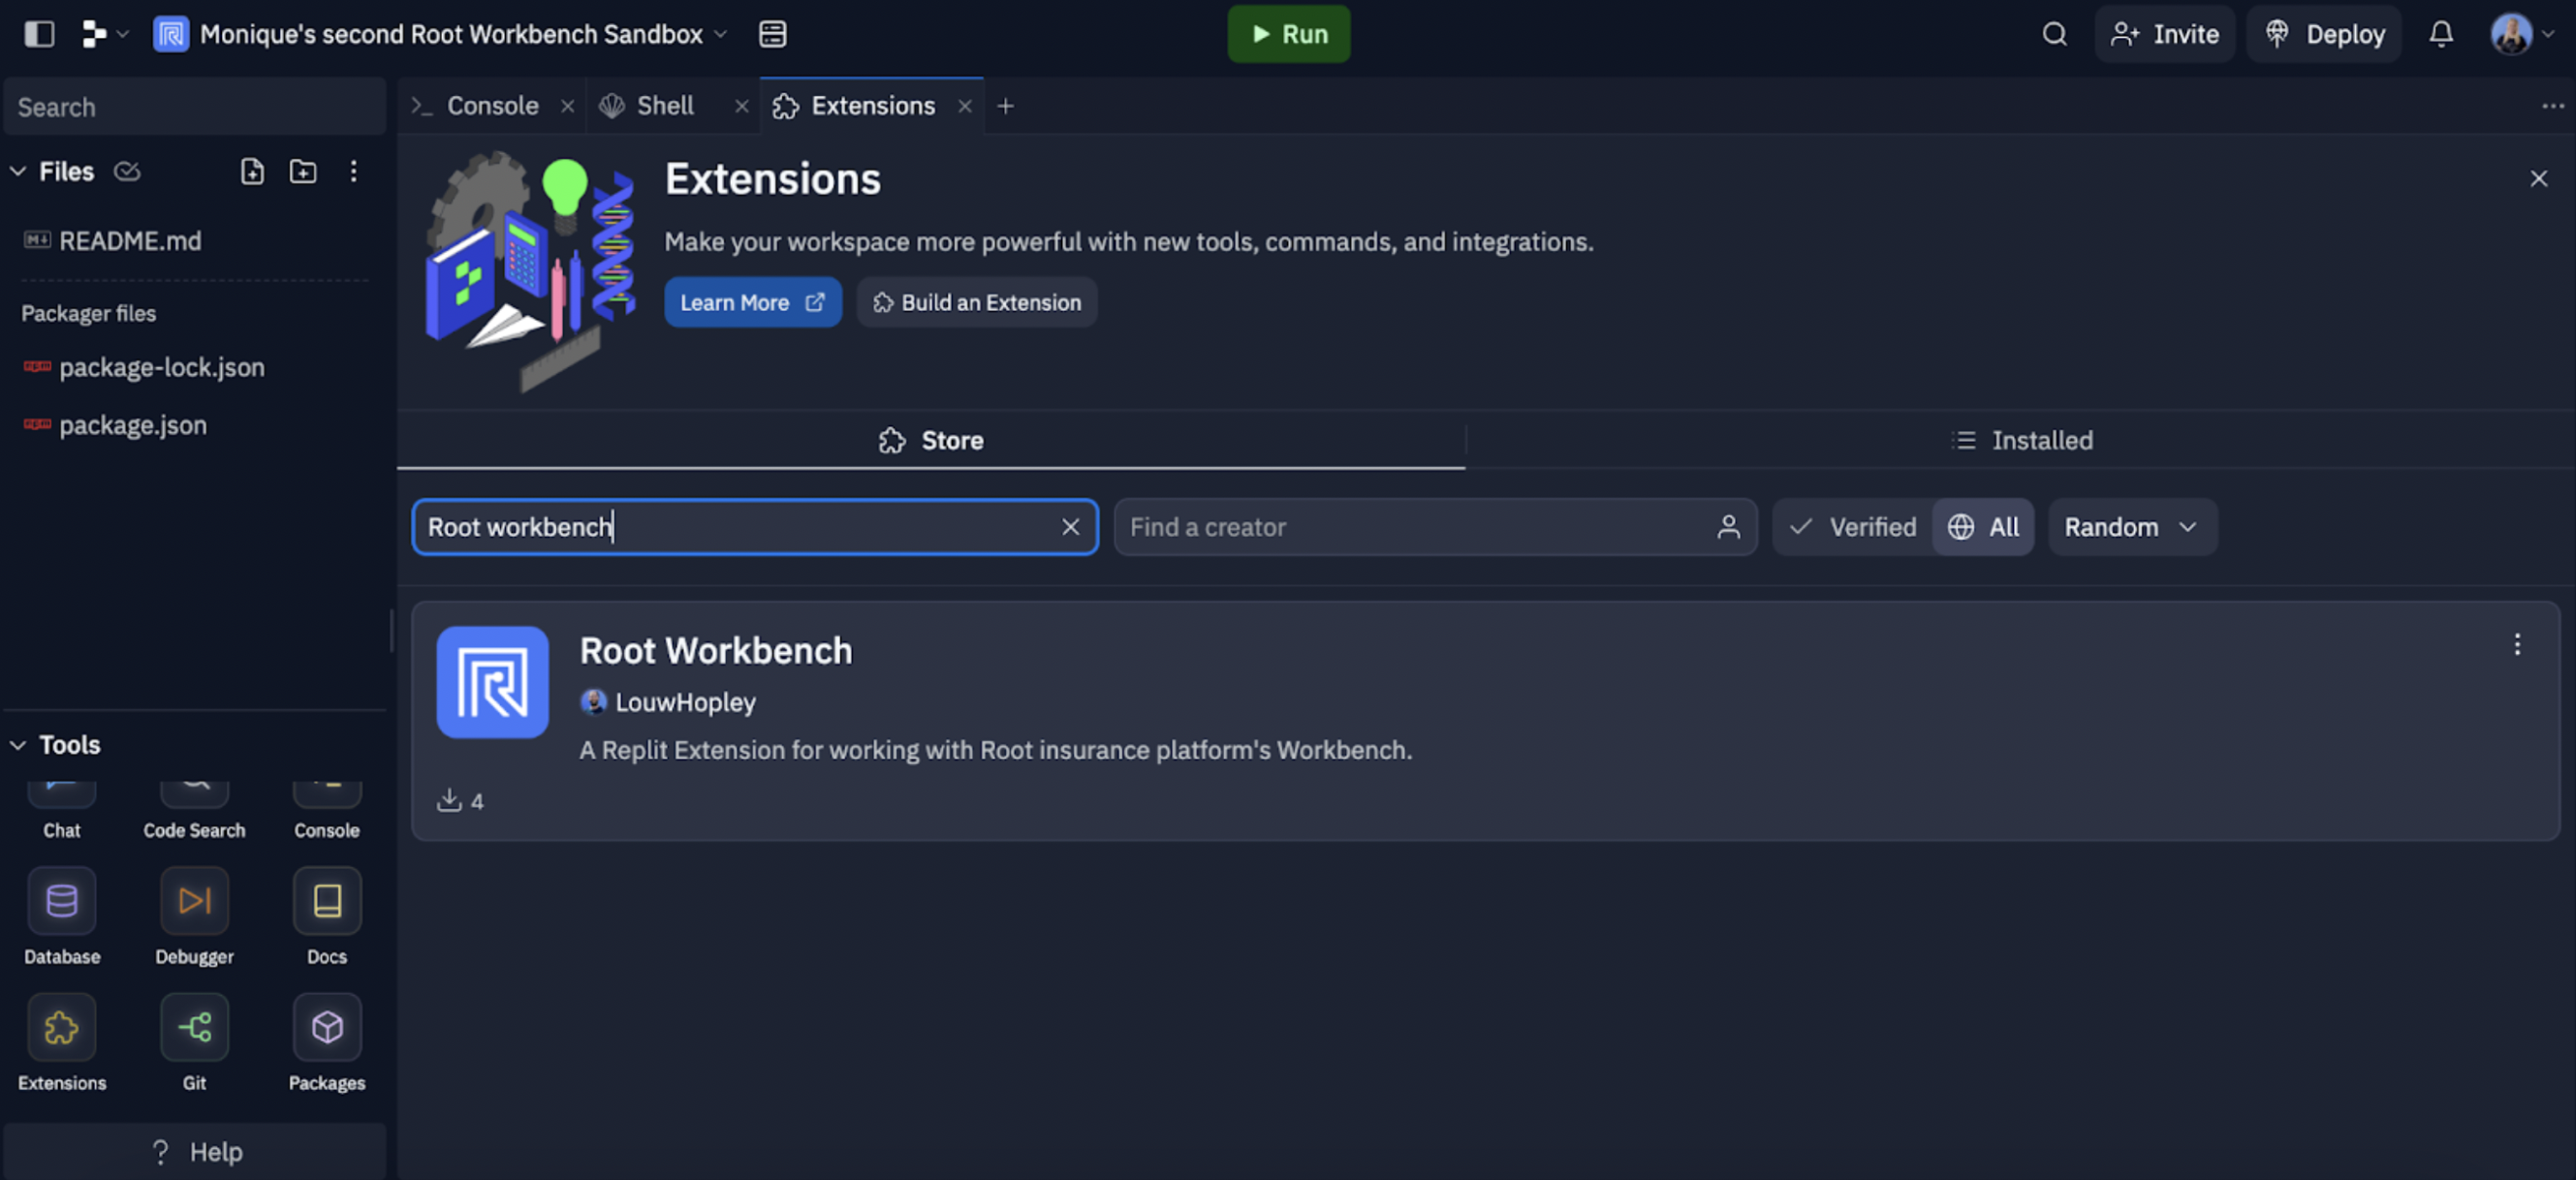
- Select Extensions in the tools section.
- Search for Root Workbench.
- Install the Root Workbench extension.
Step 3: Clone a product module to Replit
You’re all set up and ready to clone your product module to start making your first changes.
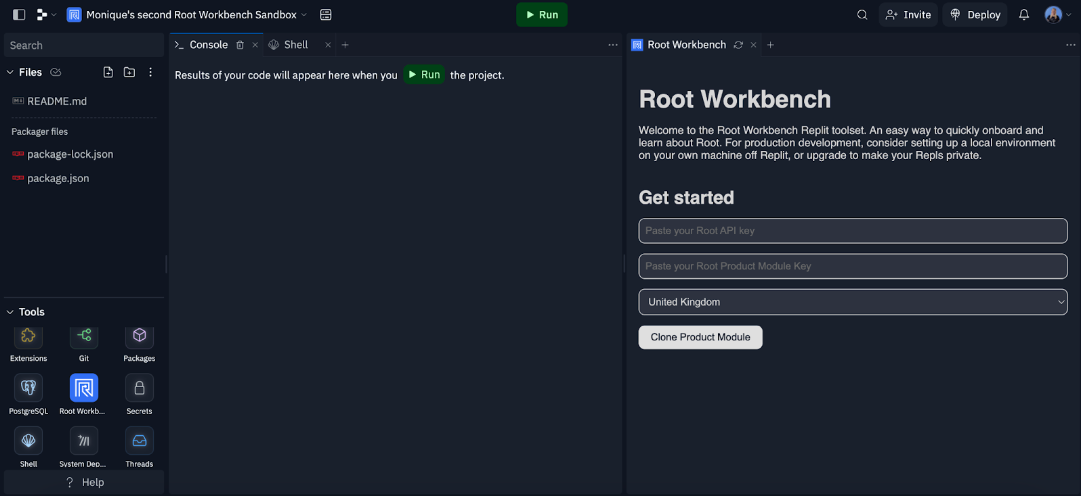
- Insert your Root API key.
If you have not yet created an API key, please follow this guide. - Insert the Root Product Module key.
If you have not yet created a product module, please follow this guide. - Ensure to select the right location based on the stack you are using.
- Select United Kingdom if you’re using https://app.uk.rootplatform.com/
- Select South Africa if you’re using: https://app.rootplatform.com/.
- Select Clone Product Module and once you've seen the following success message, you can start building:
Product module 'name_of_product_module' successfully cloned into './name_of_product_module'
This project directory is now opened in the Replit editor where you can edit all the files and components of your Dinosure product module.
Well done! You have successfully completed the basic Workbench CLI tool cloud setup on Replit. Continue with the Dinosure tutorial to use the Workbench CLI tool to implement your first product update.
Debugging the Repl
Upgrading the Root CLI (rp)
rp)If you receive a message saying that that you need to upgrade the Root CLI, it will include instructions to run an upgrade that will look something like npm i -g @rootplatform/cli
Open the Repl Shell and run copy + paste that command.
Upgrading NodeJs
Run the following command in the Repl Shell, setting the Node version to whatever is latest and supported. Find packages here.
```
echo "{ pkgs }: {
    deps = [
        pkgs.nodejs-16_x
        pkgs.nodePackages.typescript-language-server
        pkgs.yarn
        pkgs.replitPackages.jest
    ];
}" > replit.nix
```
To find available packages, look here. Here's the Replit guide for using Nix and upgrading Node.
authorization_error
authorization_errorTo avoid receiving an authorization_error, make sure you have created an API key with the correct permissions. For more details on how to create an API key, read the Setup on Root guide here.
Updated about 2 months ago