Update pricing
Learn how to quickly update a product's pricing, and use Postman for API testing
Overview
In this tutorial you will learn how to add CSV tables to the product module code, and use them to look up pricing information for a given set of rating factors. You will also learn how to use Postman to test the quote API endpoint and other policy issuing endpoints for your product.
A recent meteor strike has resulted in a sharp decline in the dinosaur population on Isla Nublar. Since this results in fewer incidents and a lower risk of loss, Dinosure's actuaries have decided to refine the pricing for their insurance product and reduce premiums. They have sent you pricing lookup tables in CSV format, and have asked you to update the calculation of the risk premium in the product module.
We will complete this update in three steps:
- Update the product module code - We will add the CSV tables to the product module code, and update the pricing logic to reference these tables.
- Update the unit tests - We will update the unit tests to make sure the updated premium calculation is correct.
- API testing with Postman - We will test our change over the API using Postman.
Step 1: Update product module code
Dinosure's actuaries have provided the updated pricing tables in two CSV files - one for smokers, and one for non-smokers. Click on these links to download the files, and open them in VS Code (or your text editor of choice). Paste the contents into your product module code at the top of the file code > 01-ratings.js. We'll assign the raw CSV as string values like this:
const smokerRatesCsv =
`age,couch potato,marathon runner
18,0.48544531,0.35678688
19,0.53541483,0.40025982
...
62,4.64042443,2.38181546
63,4.94329625,2.5486956`;

const nonSmokerRatesCsv =
`age,couch potato,marathon runner
18,0.4826122829,0.3594848246
19,0.5323140628,0.4030982073
...
62,4.415783479,2.5326892
63,4.695961547,2.715708642`;
Next, we need to add a function to process these raw CSV strings and save them as JavaScript objects, so that we can use the input parameters to look up the correct values.
/**
 * Converts a string like this
 * ```
 * age,low_risk,high_risk
 * 0,0.10,0.20
 * 1,0.14,0.25
 * ```
 * into an object like this
 * ```
 * {
 *   0: {
 *     low_risk: 0.10
 *     high_risk: 0.20
 *   },
 *   1: {
 *     low_risk: 0.14
 *     high_risk: 0.25
 *   }
 * }
 * ```
 * String values are converted to numbers where possible.
 * @param {string} csv Raw comma-separated values
 * @returns {Record<string, any>} Data represented as an object
 */
 const makeObjectFromCsv = (csv) => {
  const allRows = csv
    .split('\n')
    .map(row => row.split(',')
    .map(cell => (isNaN(Number(cell)) ? cell.toLowerCase() : Number(cell))));
  const headings = allRows[0];
  const rows = allRows.slice(1);
  const data = rows.reduce((acc, cur) => {
  	const key = cur[0].toString();
    const val = {
      [headings[1]]: cur[1],
      [headings[2]]: cur[2],
    };
  	acc[key] = val;
    return acc;
  }, {});
  return data;
};
Now we can update the function calculateRiskPremium() to look up the correct multiplication factor from the relevant table.
const calculateRiskPremium = (data) => {
  const { cover_amount, age, cardio_fitness_level, smoker } = data;
  const ratesTable = smoker
    ? makeObjectFromCsv(smokerRatesCsv)
    : makeObjectFromCsv(nonSmokerRatesCsv);
  const ageKey = age.toString();
  const rate = ratesTable[ageKey][cardio_fitness_level];
  const totalRiskPremium = rate * (cover_amount / 10000);
  return totalRiskPremium;
};
Step 2: Update unit tests
Let's update the unit tests to verify that the updated pricing logic calculates the premium correctly. Open the file
code > unit-tests > my-quote-tests.js.
To test the premium calculation, let's calculate the new expected premium for the example data. For a non-smoker with a cardio fitness level of "couch potato" we need to look for the risk rate in the non-smoker table. The risk rate for someone who is 30 years old is 1.204559813. This means the expected risk premium is 1.204559813 * (20000000 / 10000), which equals 2409 when rounded to the nearest cent.
To this, we need to add the early warning extraction benefit (300) and the fence repair benefit (1000), for a total of 3709. This means we can adjust our unit test accordingly:
describe("getQuote", function () {
  const quoteData = {
    cover_amount: 200000 * 100,
    age: 30,
    cardio_fitness_level: "couch potato",
    smoker: false,
    early_warning_network_benefit: true,
    extraction_benefit: false,
    fence_repair_benefit: true,
  };

  it("should pass quote data validation for correct data", function () {
    const validation = validateQuoteRequest(quoteData);
    expect(validation.error).to.equal(null);
  });
	//* We need to adjust the expected premium here
  it("should return a suggested premium of £37.09 (in pence)", function () {
    const [quotePackage] = getQuote(quoteData);
    expect(quotePackage.suggested_premium).to.equal(3709); // pence
  });
});
You can verify that the test passes by running rp test.
Step 3: API testing with Postman
Our unit test gives us some confidence that our quote hook is functioning as expected. However, we also want to be able to test the quote hook end-to-end over the API.
The way we have configured the quote hook in the product module code determines how the create a quote API endpoint will work for our product. So let's test what this API endpoint returns if we send it some example data. To do this, we will use Postman, a popular tool for testing and interacting with APIs.
Before starting, make sure you've pushed your changes to Root using rp push.
3.a. Set up Postman
Go ahead and download Postman, then install it on your machine. You will also need to download Swagger (OpenAPI) doc which has been created for this tutorial.
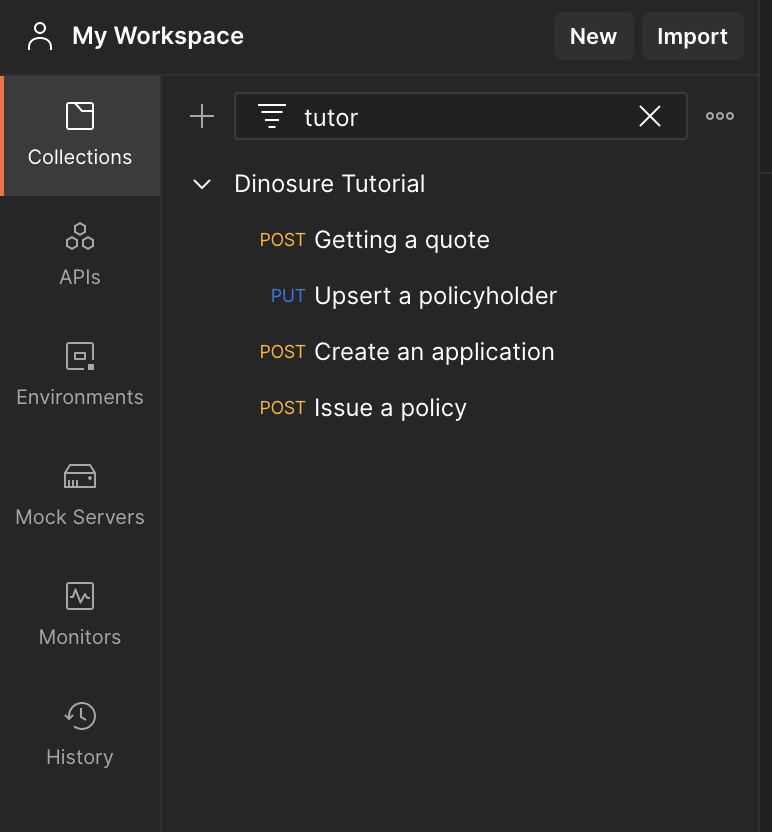
Open Postman and import the collection by following the prompts. You should now see the "Dinosure Tutorial" collection under the "Collections" tab in your workspace. This collection consists of four different API requests, corresponding the create a quote, upsert a policyholder, create an application and issue a policy endpoints.

3.b. Test the "create a quote" endpoint
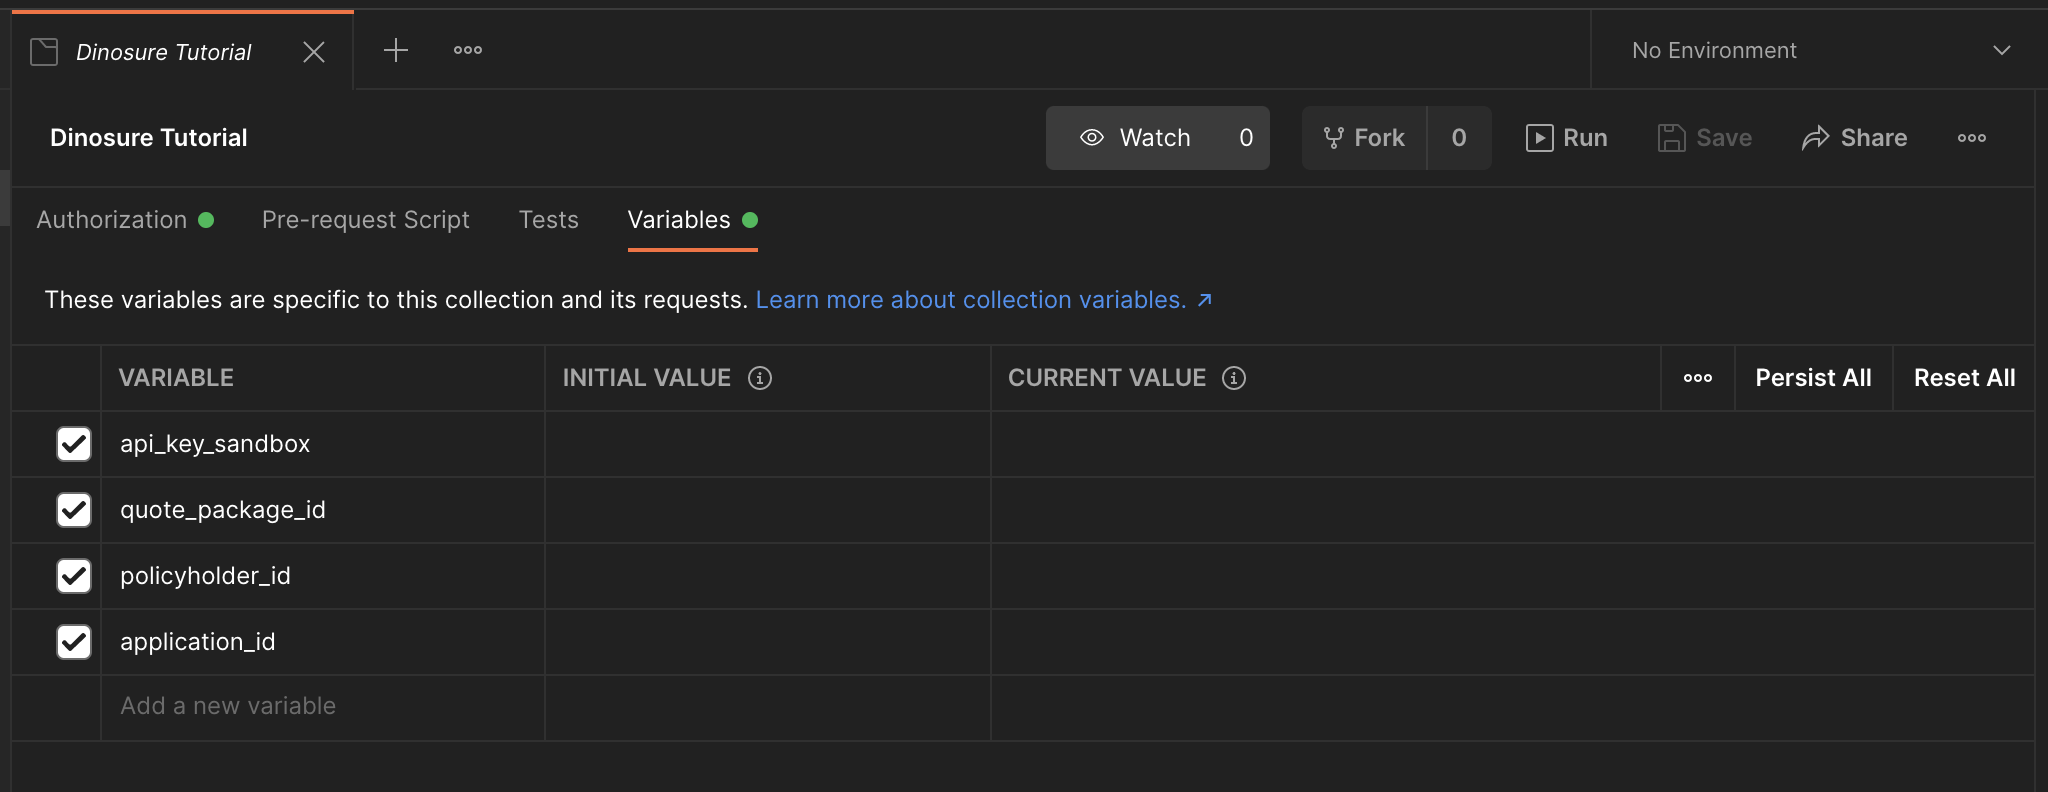
To test your product's quote hook over the API, you need to do two things. First, you need to add your API key to authorise your API requests. To do this, copy the API key from the .root-auth file in your product module directory. Then open the "Dinosure Tutorial" collection in Postman, navigate to the "Variables" tab, and find the variable called api_key_sandbox. Paste your API key into the "Current value" field. Save your changes.

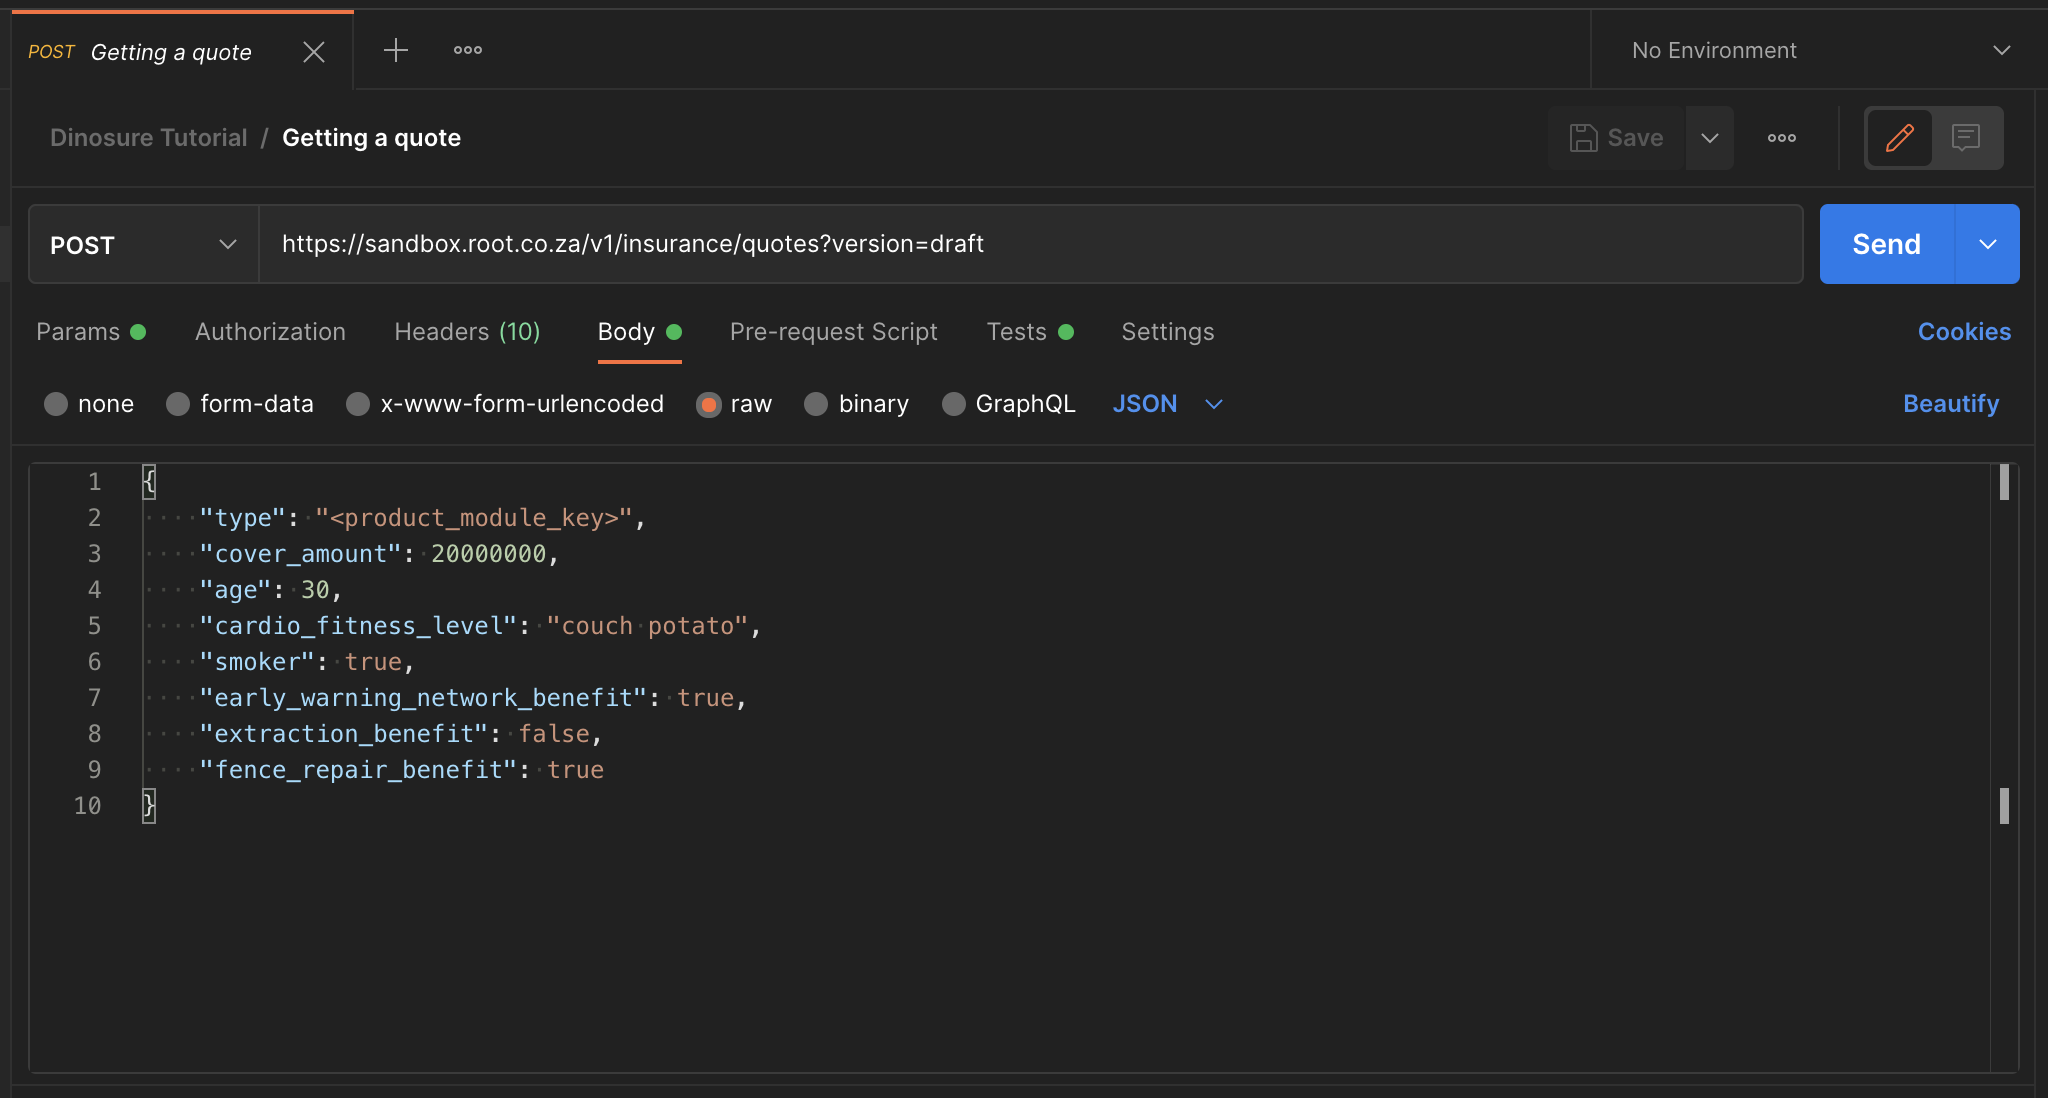
Second, you need to add your product module key to the request body, to tell Root which product module to get the quote for. Under the "Dinosure Tutorial" collection, open the "Creating a quote" request. Open the "Body" tab and then add your product module key to the type field. Save your changes.

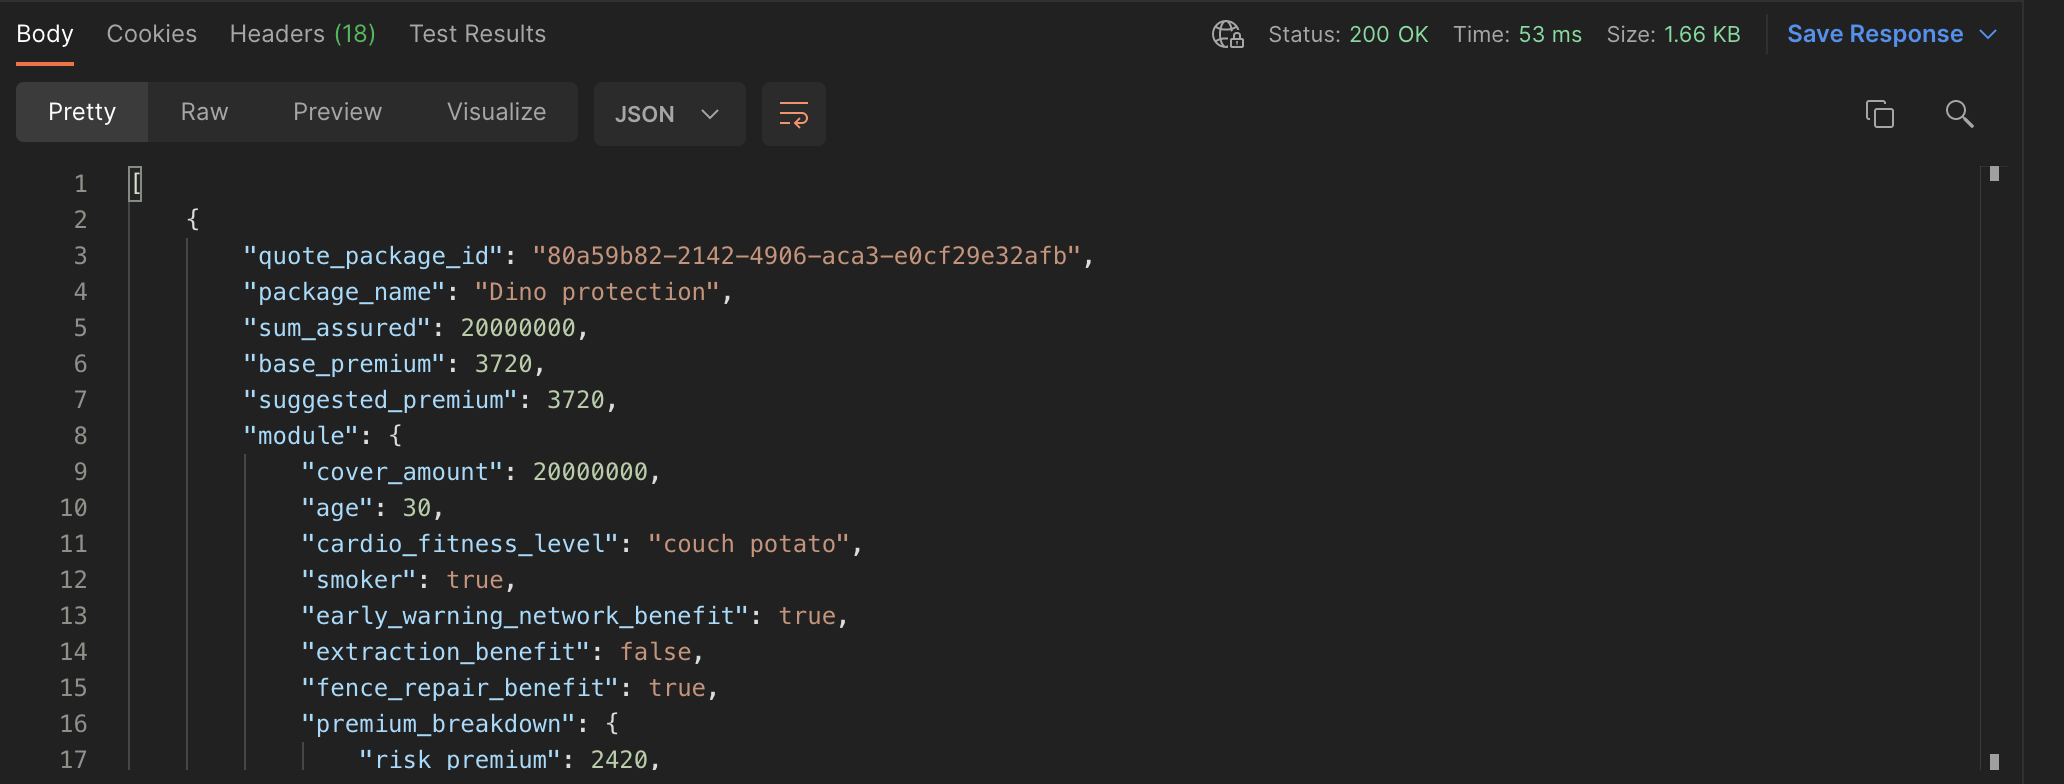
Now you're ready to send your request to the Root API! Click "Send". You should see the response returned by the API in the response pane. You can verify that the returned premium matches what we expect based on the rating factors that were sent.

Well done! You've successfully performed an end-to-end test of one of your product's configurable API endpoints.
TheversionURL parameterSetting the
versionURL parameter of the quote request todrafttells Root to use the latest draft version of the product module definition. This is equivalent to selecting "Latest draft" when issuing a policy in sandbox mode on the dashboard.To get quotes using the live version of the product module, the
versionparameter can be omitted.
Optional extension: Feel free to experiment in Postman and test the other requests included in the collection. You can also create new requests as documented in the API reference, for example to add beneficiaries, create and link payment methods, and simulate payments.
The collection has been set up in such a way that certain parameters returned by the endpoints are saved as collection variables so that they can automatically be included in subsequent requests. For example, the quote_package_id returned from the quote endpoint is saved as a collection variable (see the "Tests" tab to see how this is done), and is then automatically included in the "Create an application" request.
- Send the policyholder, application and policy issue requests to complete the policy issuing flow.
- Log into the dashboard to view the policy you created.
Updated 15 days ago