Tutorial: Use DBeaver to connect to Data Adapter
Use a free SQL tool to connect and query your data
Overview
Follow this step-by-step tutorial to connect to the Data Adapter using a free and open-source database client, DBeaver. The configuration steps will also serve as a good reference for configuring other applications and tools (like Power BI, Google Looker, Tableau and Qlik).
JDBC drivers required
Some tools require the AWS Athena JDBC Drivers to connect to Athena. If you are prompted to download and install the JDBC drivers at any point during the setup process, please accept and do so.
Step 1: Retrieve your credentials
If you haven't already, follow Step 1 of the "Connect to Data Adapter" guide to create and or retrieve your credentials.
Step 2: Download and install DBeaver
Download and install the community version of DBeaver (official download page):
MacOS: Intel vs Apple Silicon
If you have a Mac and you are not sure which installer to select, click on the Apple logo in the top left of your screen and then click on "About This Mac". If the "Chip" is "Intel", select the "MacOS for Intel installer", otherwise select the "MacOS for Apple Silicon installer".
Step 3: Create and configure the database connection
- Open DBeaver and go to "Database > New Database Connection"

-
Click on "All" in the sidebar and search for "Athena"
-
Select the "Athena" driver and click on "Next"

- You should be presented with the "AWS Athena Connection Settings" screen.

-
On the "Main" (2) tab, enter values for the fields as follows:
- Region:
AWS region - S3 location:
AWS S3 location - Username:
AWS access key ID - Password:
AWS secret access key
- Region:
-
Click on the "Driver properties" (1) tab. If you are prompted to download the latest drivers, please do so by clicking on "Download".

-
On the "Driver properties" (1) tab, enter values for the fields as follows:
- Schema:
AWS schema - UseResultsetStreaming:
1 - Workgroup:
AWS workgroup
- Schema:
-
Click on the "Test Connection" (3) button . A pop-up should appear stating "Connected" if all the details are entered correctly. Click "OK" and then "Finish" to complete the configuration.

Step 4: Connect and run a SQL query
- Right-click on the Data Adapter connection and select "SQL Editor > New SQL script"

- Enter the query
SELECT * FROM policies LIMIT 10in the script editor, and then click on the "Execute SQL statement" button on the left side of the editor window. You should see a results window appear below the script editor.
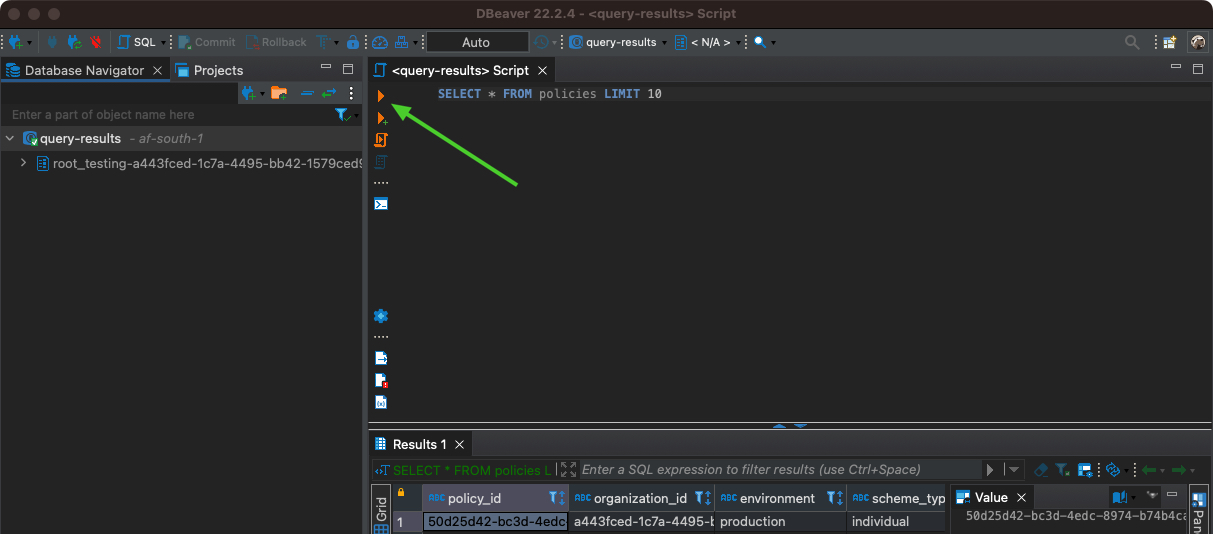
- You can see the list of available tables, by expanding the sections in the "Database Navigator" section (far left side). Double-clicking on a table will open windows showing additional information about the selected table.
Updated 5 months ago